Follow our step-by-step guide to sending an email campaign to customers or prospects
After you have a saved search in US Business or US Consumer databases created, you almost ready to build an Email Campaign. We have a new flow for the email campaign process. Users will create an audience file of email addresses and personalization data to be used in email campaigns. Here is where you can find information about creating an audience file.
To start an email campaign, you must click the @ icon on the audience file page. You will walk through the following 6 simple steps to build and send your email campaign:
Pro Tip: You can proceed as far along as you want in building the campaign, save your progress, come back and make changes and return at any time to finish and launch. At each step in the DIY (Do-It-Yourself) Email Campaign Builder, you will have the option to Save your progress, go Back to the previous step or move on to the Next step.
Get Started - Build Your Professional Email Marketing Campaign
Step 1 of 6 - Create Email Campaign

- Name Your Campaign
- Enter Email Subject Line
- Enter the Reply To email address - this will auto-populate with the email address on the account.
-
Enter the Sender’s Physical Address. This is required to comply with federal CAN-SPAM regulations. If you are sending this email campaign on behalf of a client, enter their physical address. This will also auto-populate if it is on the account. Here are some CAN SPAM & Direct Marketing Association (DMA) Compliance Tips:
- The Subject Line must accurately reflect the content of the message.
- The From Name must be the company name that will be represented in the content of the email.
- The Physical Address must be valid. A PO Box or commercial mailbox is also fine as long as the address is USPS compliant.
- You can add a suppression file or seed emails - these steps are optional.
Note: This step also allows you to apply a suppression list to remove those email addresses from your email campaign audience. Previous unsubscribes are automatically removed from your email campaign audience. Seed list emails will be sent free of charge in case you want to see when the email campaign is delivered.

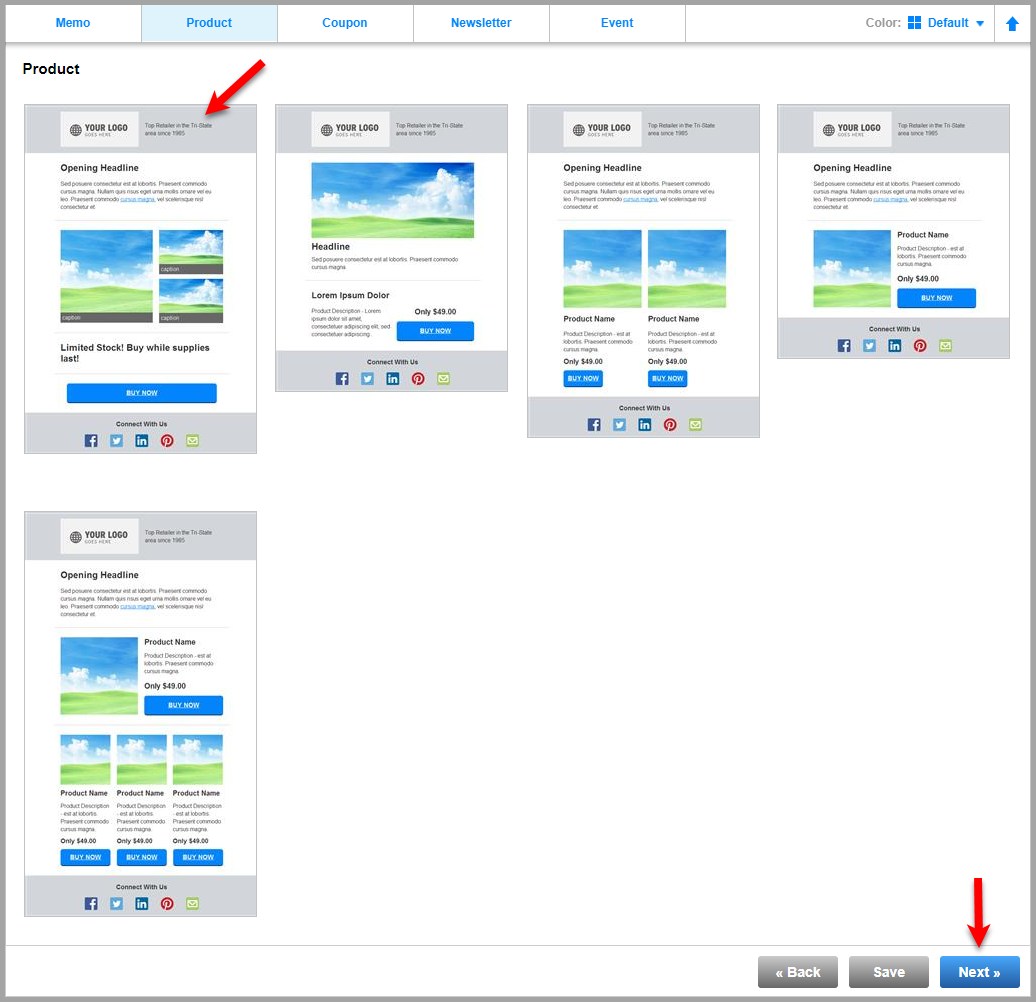
Step 2 of 6 - Choose Your Template
Choose the type of email you want to send to start with an established and proven layout, from these choices:
- Memo email
- Product email
- Coupon email
- Newsletter
- Event
OR scroll down to browse templates from the different types of emails. Once you click on the template you like, click "Next".
PRO TIP: Select “Other” or choose to Skip this step to proceed directly into the design process and a wide range of email templates
Choose to “Use a previous design” as your starting point. You will then asked to choose from a list of previous email campaigns deployed in your account.
Choose to “Upload a template”. Click the “Upload Files” button to upload your files. Browse and find the folder that contains your design files. Select your files and click the “Open” button to begin uploading them.
Allowed file types include html*, .htm*, .png, .gif, or .jpg files, but one .html, or .htm file is required. Check the Upload Report to make sure all the files you have chosen have uploaded successfully.
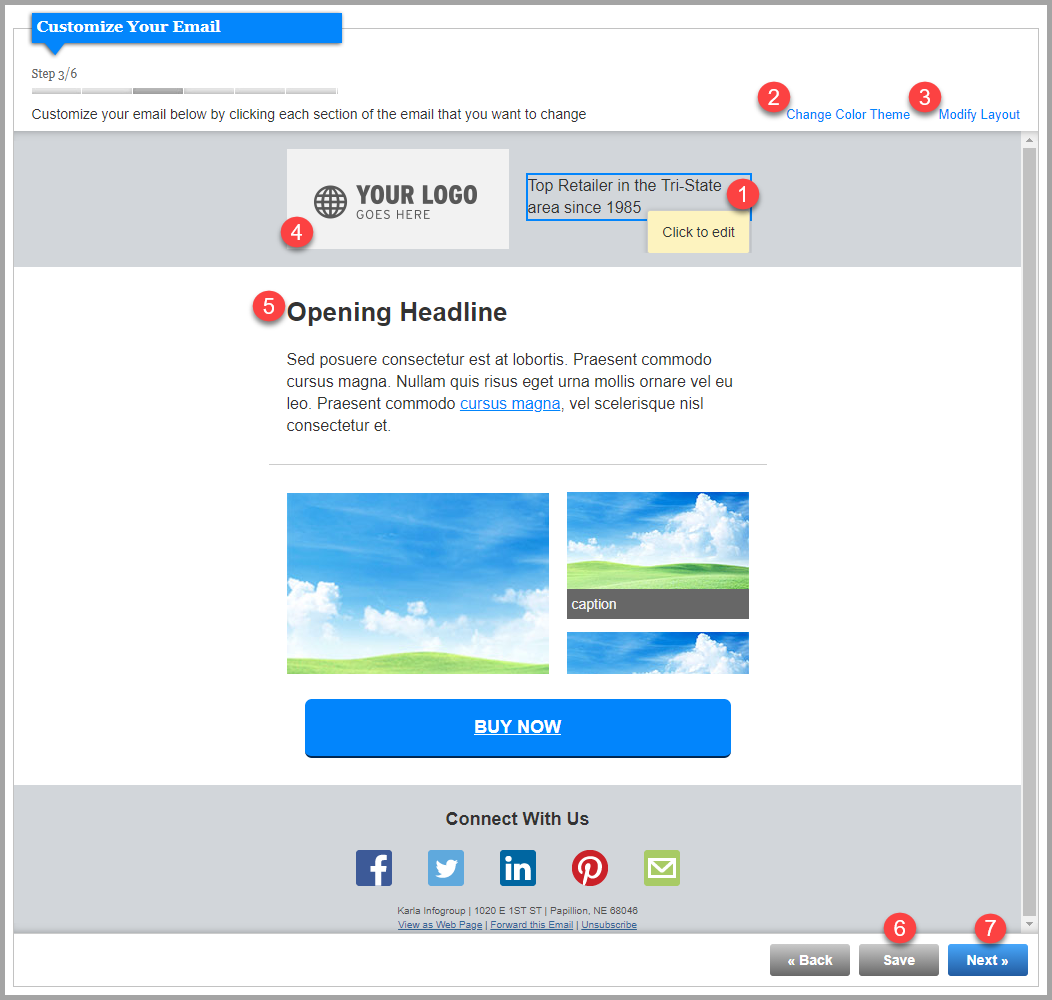
Step 3 of 6 - Customize Your Email
- Much like editing a Powerpoint or Google Slide, click on each design element to change the image and text.
- Change Color Theme will change the overall color theme for your email.
- Click on Modify Layout in the top right corner to choose different modular presentations quickly.
- You can upload your own logos and images.
- Update headlines and text.
- Make sure you periodically "Save" your template.
- When you're finished editing, click "Next".
Step 4 of 6 -Confirm Plain Text Content
This plain-text email is displayed if recipients can't (or won't) display your HTML email. Your message might get trapped in spam filters without a plain-text message.
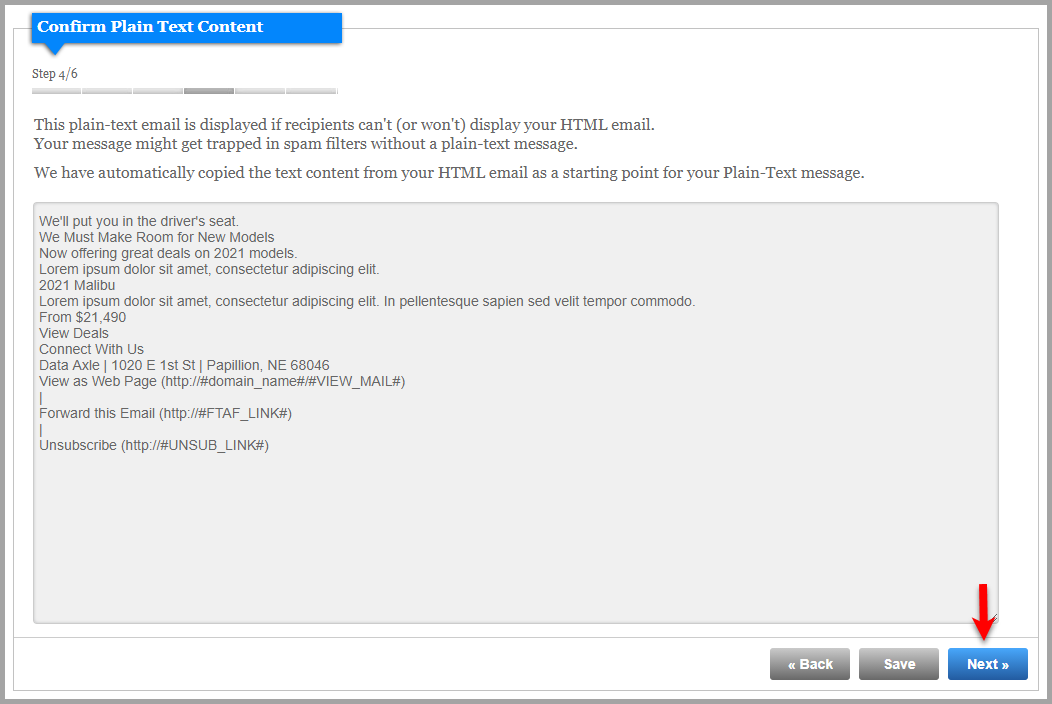
We have automatically copied the text content from your HTML email as a starting point for your Plain-Text message. Notice your sending name, organization and address is included at the:
- View email as web page
- Forward email
- Unsubscribe from email
Step 5 of 6 - Test and Approve Email
There are two steps to this screen. With your designed email on display to the right of your screen, use the tabs at the top go through the 3 display options: Preview, HTML Email (default view) and Plain-Text Email views.
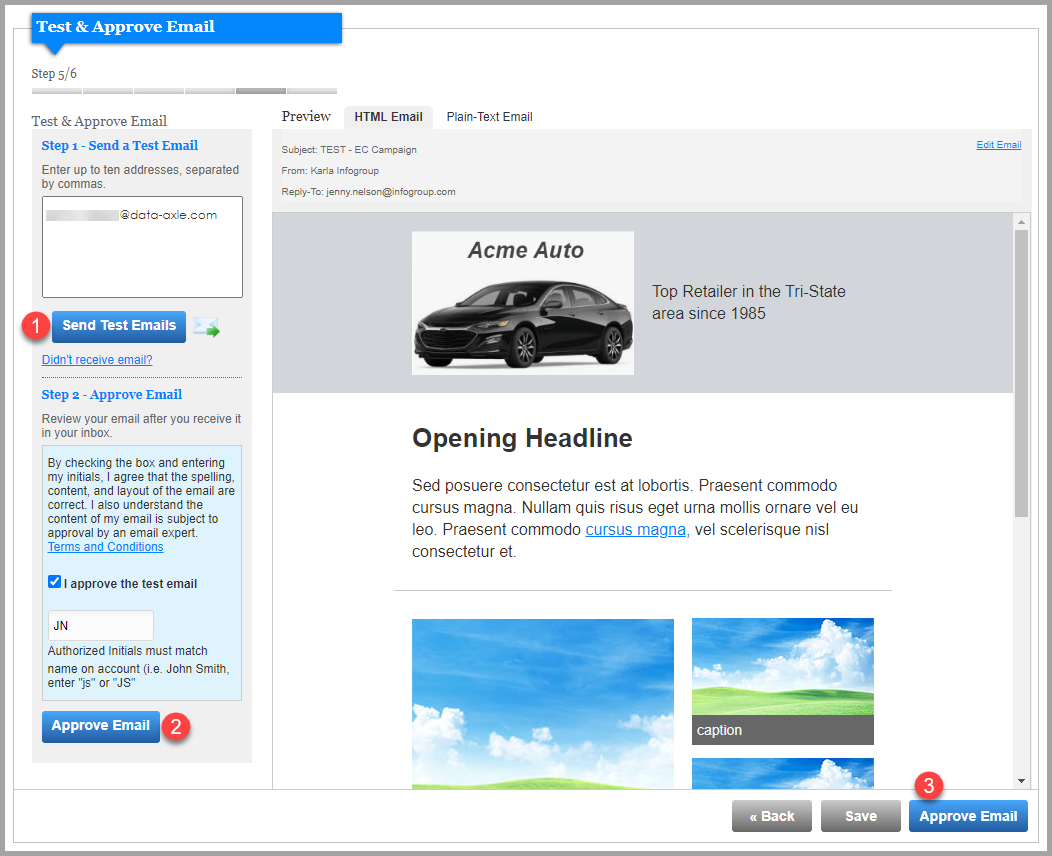
(1) Send a Test Email to a maximum of 10 email addresses that you can enter here
PLEASE NOTE: Sending the test email can take a few minutes. (typically no more than 2 - 3 minutes) Please be patient and wait for the processing pop-up to disappear.
Note: You must send a test before you will be allowed to proceed to the next step and “Approve Email”.
(2) Approve Email after reviewing the test email in your inbox. By checking the “I approve the email” box and the entering your initials below, you agree that the spelling, content, and layout of the email are correct. You also understand the content of your email is subject to approval by an email expert.
(3) Click "Approve Email" to go to the next step.
Note: Data Axle will establish the initial population of email addresses / records from its proprietary databases and will then perform processing to validate those records. Records found to be invalid will be excluded from the population of emails to be deployed, potentially resulting in fewer records included in the end user deliverable.
The contract will be considered fulfilled if the number of emails sent is greater than 80% of the initial population noted. You will only be charged email credits for the exact number of sent emails.
Step 6 of 6 - Schedule your Email
Schedule the date and time that you'd like your email to be sent. Please allow 2 business days for content approval. Call us at 888.941.9350 to expedite your order.
You will see on "Totals" table that will break down the number emails to be sent. It will let you know if you suppressed any emails, if a hard bounce email was dectected in your audience file, or if the file includes any unsubscribes. The total at the bottom will show the number of emails to be actually sent which you will be charged by.

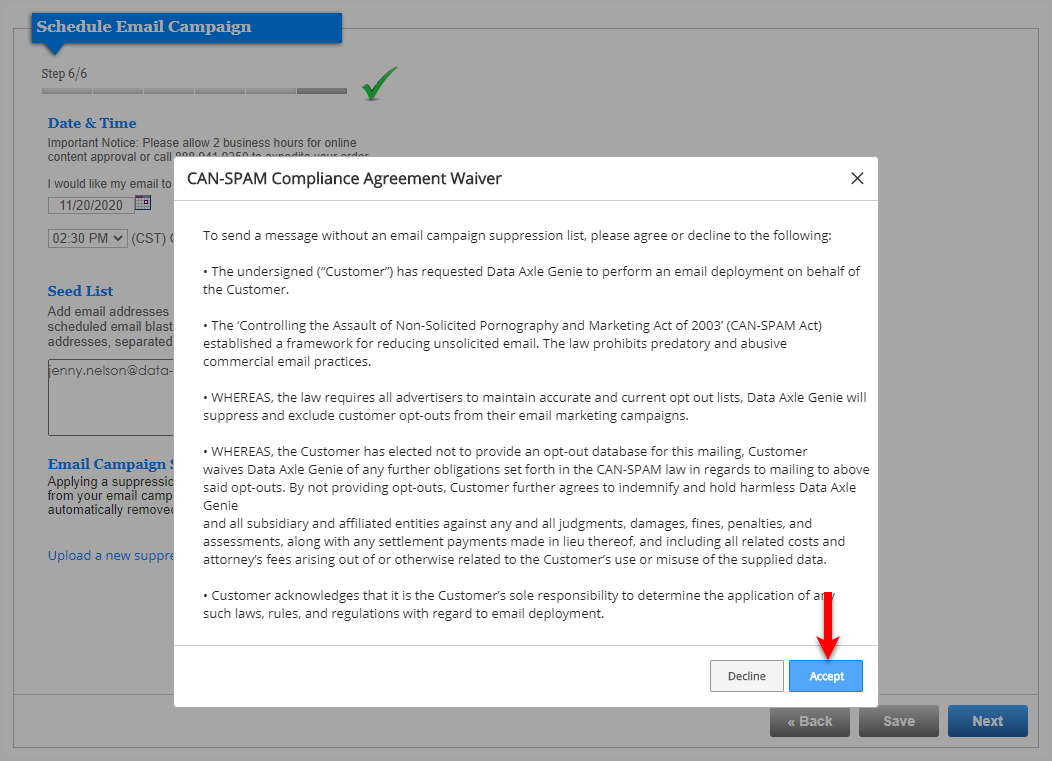
Accept the "CAN-SPAM Compliance Agreement Waiver" and your email campaign will be schedule and deployed.