Filter By Geography On A Map
There are number of reasons to used map-based search, from being able to easily visualize your target area to setting your own geographic borders or finding businesses by a driving route.
NOTE: Map Based Search functions the same interfacing with all of our databases, including both Business and Consumer searches.
If you’ve used other map-based tools, then this feature should look familiar. It allows you to create overlapping areas of inclusion and exclusion, all the while keeping a track of your total records.
PRO TIP: Geography is a very common starting point for building a list.
Steps in Map Based Search: There are number of important ways to interact with the Map Based Search to start narrowing your search, but we recommend following these steps:
- Navigate and zoom into your target area
- Select an area of the map by choosing your boundaries
- Click Done to return to other Selects while keeping your mapping selection active
- Save early and often
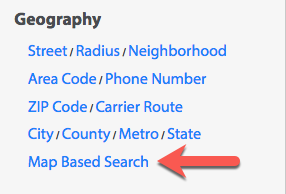
Selecting “Map Based Search” from the Geography menu will bring up a map of the contiguous United States. There are several viewing options:
1.) Type of View
There are 4 viewing options in the top right corner of the Mapping Tool
- Street map
- Satellite map
- Hybrid (of Street and Satellite) map
- Terrain map.
By default, the Street View will be showing.
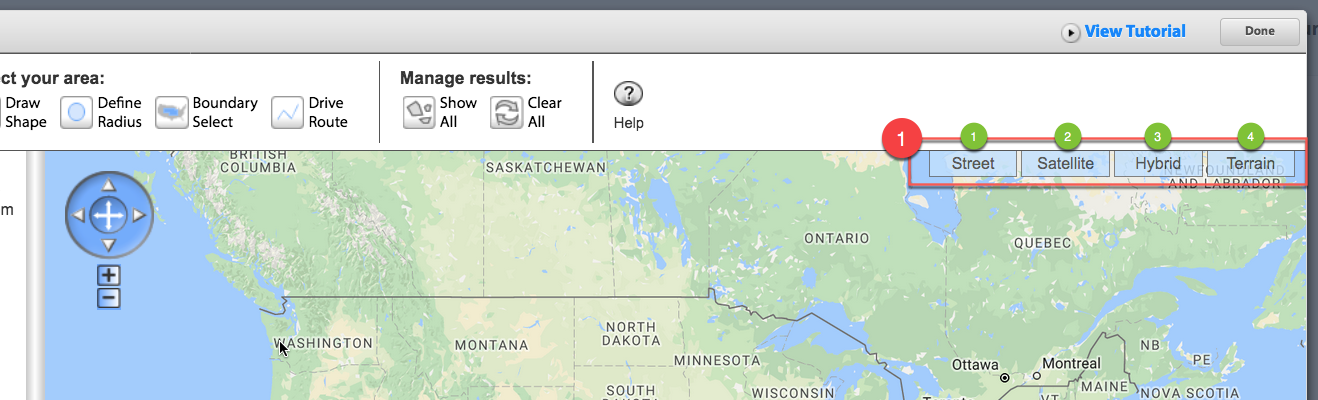
PRO TIP: Choose your preferred Type of View at the very start of your Map Based Search as this option will disappear as you start creating areas on the map.
2.) Manage Results
As you zoom in and out and define different geographic areas, click on the “Show All” under Manage Results to get a map view showing all of your selections. Use “Clear All” to start over.
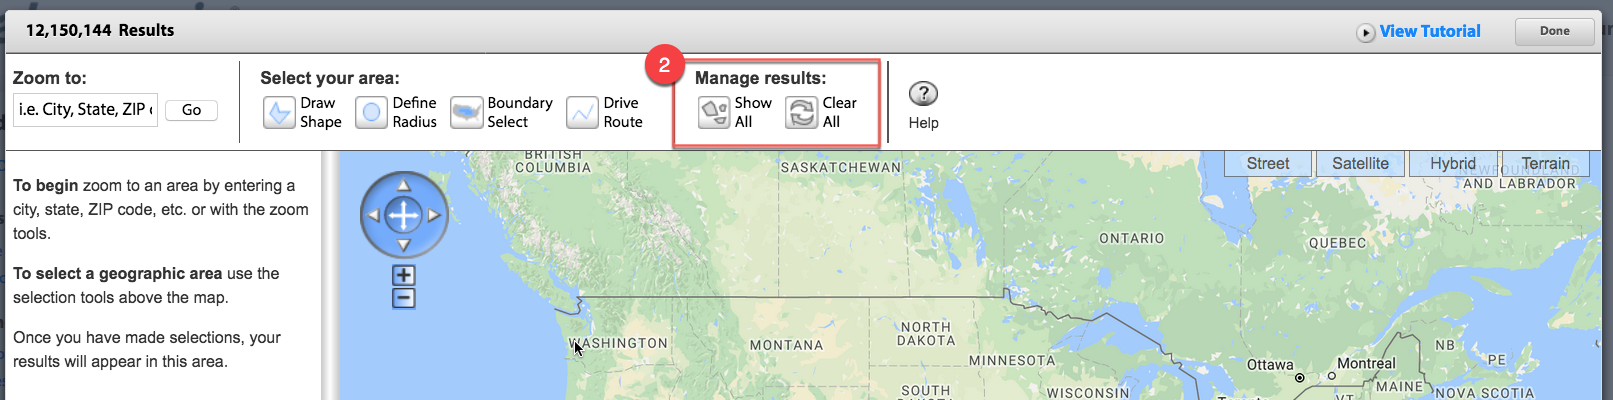
As you select different shapes, each shape and the total number of records within it will display in a column under the heading Results on the left hand side of the map. Collapse this column to get a wider view of the map and expand it to review a list of the different shapes selected.
Shape Titles, “Include” and “Exclude” Areas, and Overlapping: Click on each to zoom to that shape, change the title assigned to that shape and select “Include” or “Exclude”. By default areas are set to be “Include”, meaning everything within them will be included in your filtering.
You can also choose to make a shape “Exclude,” meaning anything within it boundaries will be excluded from your filtering. This powerful feature lets you add and remove overlapping areas. You can remove a shape from your selection by clicking Delete.
PRO TIP: Title your areas with Include or Exclude in the name to easily track of the basic function of that area.
3.) Navigating and Zooming
Choose geographic characteristics – address, street intersections, city, state, ZIP Code for instance -- to zoom the map into your target area. While the mapping tool will attempt to match misspelled words, it’s best to be sure to get the correct spelling for addresses and cities.
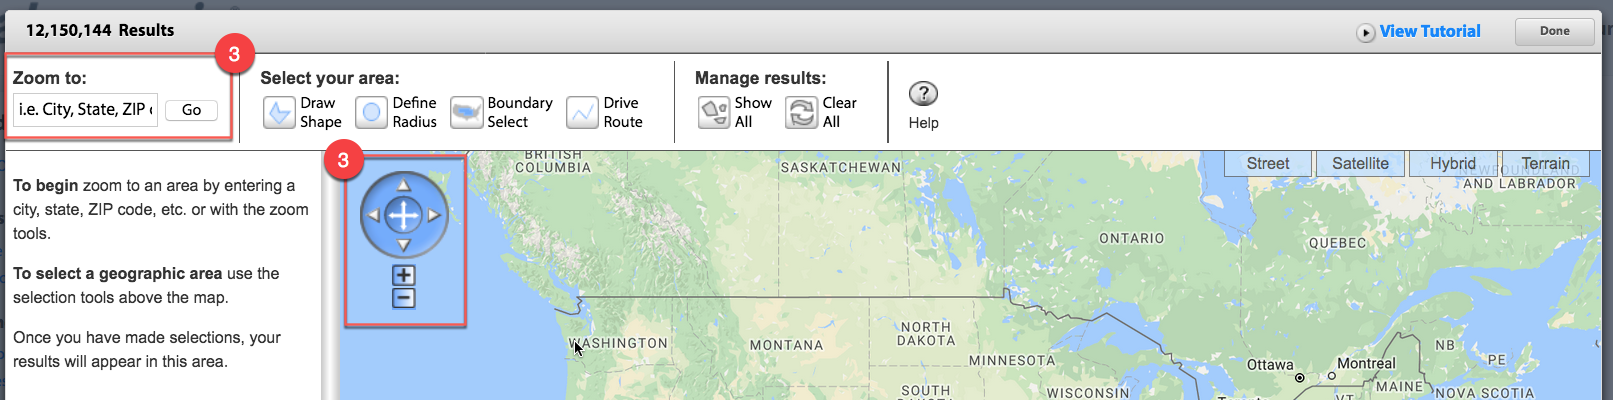
When entering an address or street intersection, if you have the ZIP Code, you don’t need to enter the city or state.
Manually move around the map using the compass in the top left corner of the screen. Underneath the compass, use the “+” and “-“ buttons to zoom in and out.
Zoom in and center the map by double-clicking on it or using the scroll wheel on your computer mouse to zoom in and out.
Click-and-drag the map to move it around.