Salesgenie Team edition also has additional filter criteria selections to help you manage your lead lists and team members.
After loading a list, you will see “Team Data” in the left sidebar, below the usual filter criteria selection sets and above the OMIT filter criteria. You will see the following filter criteria:
Bought Records: Use this pop-up to select from “All records,” “Bought records only” and “Unbought records only” to filter the list.
PLEASE NOTE: You must have already uploaded Customer Data for “Unbought records only” to return any results. Use Update Count to get total numbers for each selection.
Tags: This is similar to the Tags icon in the header of the left search sidebar of the Professional edition. You can also access this feature by clicking on the gear icon in the header of the left search sidebar of the Team Edition. Filter your list by tags, first by choosing from one of two options:
- Include records that have all of the selected tags assigned
- Include records that have at least one of the selected tags assigned
Click on the list of tags in the “Available” column to move them to the “Selected” column and to include them in your filtering.
Notes/Lead Status: A pop-up window allows you to filter this list by the information entered into the Notes field of individual records. Choose from “All Records”, “Records with a note” or “Records without a note.” The last two will also make the checkbox “Search just my notes” active.
You can also filter this list by the different Lead Status levels. Just click the checkbox for the Lead Status levels you want included from the list of Lead Statuses shown.
Follow ups: A pop-up window allows to filter this list by Follow-ups. Choose from one of 3 pre-defined date ranges -- Today, Last 30 Days and Future -- or enter the exact date range. Use the checkbox next to “Use just my follow-ups” to filter the list to follow-ups on leads assigned only to you.
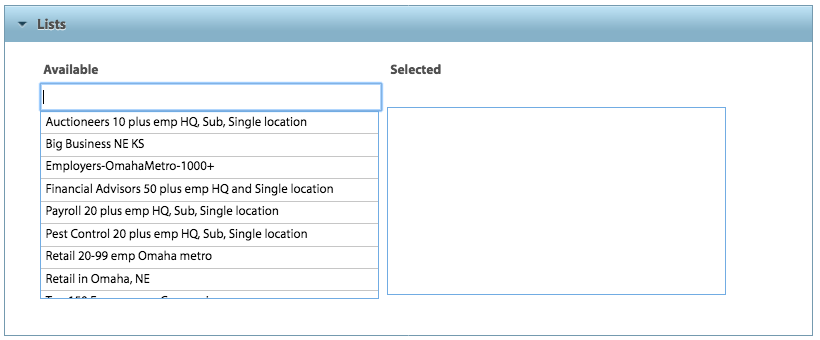
Saved Lists: Filter using lists you've previously saved. Select one or more lists to search by.

Call History: Tied to the Call Logs generated from Salesgenie’s Dialer telemarketing function, select from “Include Called Records Only,” “Include uncalled records only,” and “All Records.” The first two selections will make a checkbox active, allowing you to choose “Use just my call history” for call logs on leads assigned to you.
Assigned To: Filter the existing list by the team member to whom the leads have been assigned. Click on team members in the “Available” column to move them into the “Selected” column. This is an easy way to narrow your list by team member (or members) and to reassign all of those leads to another team member or members.
Worked Status: Filter the lead list by “All,” “Worked” and “Unworked”, based on any recorded activity in Salesgenie.
My Contacts: Filter the lead list by contacts you have added to the U.S. Business “Company Roster” field, or in the case of the U.S. Consumer database, the “Member of Household” field. Choose from “All records,” “My contacts only” or “Exclude my contacts”


